
Upgrading Your Gaming Rig: A Step-by-Step Guide Leave a comment
Updating your gaming setup with the newest hardware is crucial if you’re a serious player who wants to run the newest games fluidly and have the finest possible gaming experience. Although upgrading your gaming PC may be a gratifying project, it can also appear intimidating, particularly if you’re not familiar with hardware components. We’ll walk you through the whole process of upgrading your gaming setup in this step-by-step tutorial, from determining your needs and selecting the appropriate parts to actually installing and testing them. Prepare to enhance your gaming experience!
1. Establish Your Budget and Goals:

Setting money and specific goals for your upgrade is the first step in improving your gaming setup. Are you trying to boost system speed overall, boost storage space, or improve gaming performance? Setting priorities for the components you want to update can help you achieve your goals. Additionally important is your budget, which will direct the selection of components. Remember that upgrades for gaming rigs may be anything from inexpensive to expensive, so knowing your budget beforehand will help you make wise choices.
2. Evaluate Your Existing Setup:
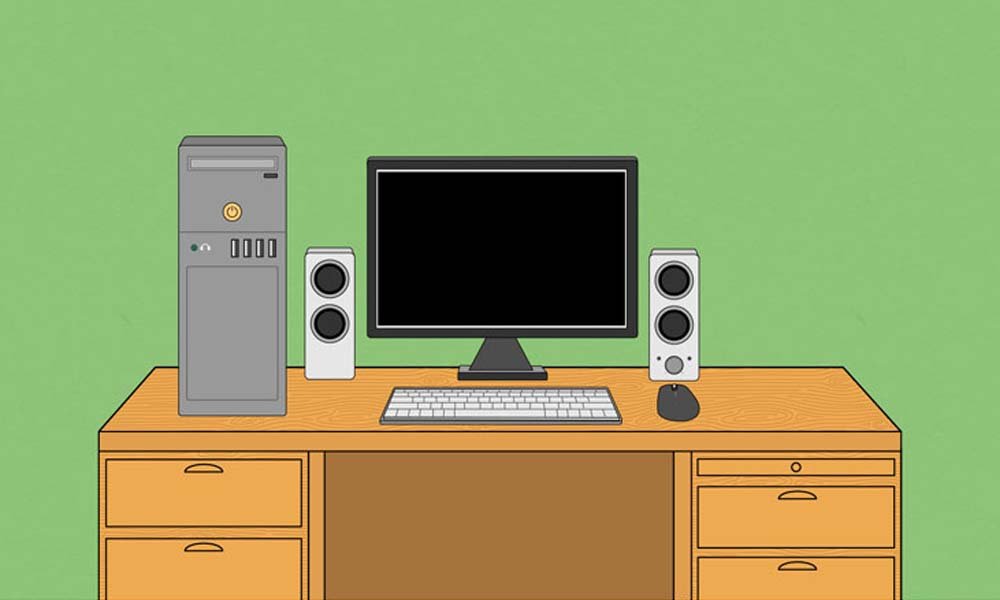
It’s important to evaluate the specs of your existing gaming setup before making any improvements. Determine the essential parts, including the power supply, CPU, GPU, RAM, and storage. Understanding your current hardware will enable you to identify the parts that require replacement. Furthermore, as some older motherboards might not support the newest gear, make sure your motherboard is compatible with modern components.
3. Select the Appropriate Elements:
Making the correct component choices is essential to the success of your upgraded gaming rig. Look into and select parts that fit your budget and objectives. Typical upgrade components are as follows:
- GPU (Graphics Processing Unit): Increasing the performance of your graphics card will greatly improve gaming. Look for models that meet your demands for gaming and your budget.
- CPU (Central Processing Unit): Increasing the CPU’s power can boost system efficiency and eliminate bottlenecks. Verify that it fits into the socket on your motherboard.
- RAM stands for Random Access Memory, and more RAM can let you multitask more easily and play demanding games more efficiently. Make sure the RAM type and speed fit the limitations of your motherboard.
- Storage: For speedier load times and better system responsiveness, think about switching to a faster SSD. HDDs can be utilized as extra storage.
- Power Supply: Make sure your power supply can manage the extra power needs if you’re adding more components or upgrading your GPU.
- Cooling: Sufficient cooling solutions can save your components from overheating and prolong their lifespan.

Make a backup of your critical data before beginning any hardware updates. Game saves, paperwork, pictures, and any private files go under this category. To make sure your data is protected throughout the upgrading process, you may utilize external devices or cloud storage services.
5. Shut Down and Arrange Your Work Area:
Make sure your gaming setup is disconnected from the power source and turned off. Locate a spotless, well-lit work area with enough space to arrange the parts and equipment. To prevent damage from electrostatic discharge, which can occur to delicate hardware components, use an anti-static wrist strap.
6. Install or Replace Components:

As directed by the manufacturer, replace or install the chosen parts one at a time with caution. Start with the part that needs the most work or is most important to your upgrading objectives. Common installation procedures consist of:
- Remove the old card, insert the new one, then delete the previous drivers for the GPU. Update your drivers for best performance.
- When upgrading the CPU, it could be necessary to remove the old one, apply thermal paste, and carefully install the new one.
- To add or replace RAM modules, first open the DIMM slots and insert the modules firmly.
- Make a copy of the operating system or reinstall it on the new disk before increasing the storage.
- Make sure all connections—including data and power cables as well as cooling solutions—are set up correctly.
7. Examine and resolve issues:
Turn on your gaming setup after adding new parts, then assess how it performs. Look for any strange sounds, overheating, or unstable system components. To make sure your updates are working as intended, run games and benchmarking tools.
8. Update your drivers and software:
Update all software and drivers, including motherboard firmware, graphics card drivers, and operating system, to maximize the performance of your gaming setup. Bug fixes and speed enhancements that might improve your gaming experience are frequently included in these upgrades.
9. Observe and uphold:
Keep a regular eye on the temperature and performance of your gaming setup. To avoid overheating, dust off parts and give the system a thorough cleaning. For the best protection and functionality, make sure your antivirus and software are up to date.
10. Savor Your Improved Gaming System:
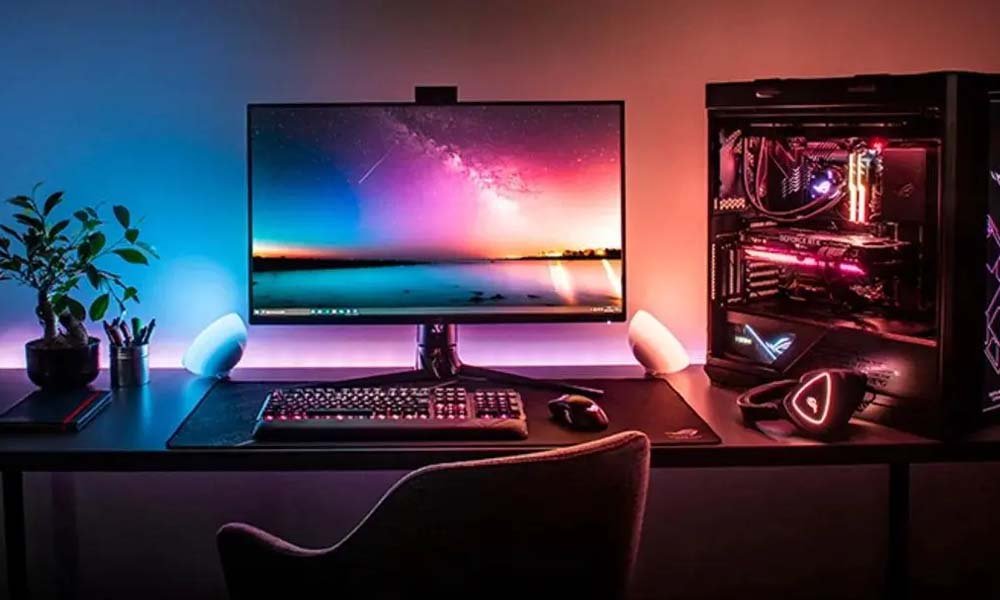
Now that your gaming setup is optimized and functioning flawlessly, it’s time to savor your improved gaming encounter. Now you may enjoy quicker load times, play the newest games at higher settings, and confidently take on increasingly difficult jobs. Your improved gaming setup is evidence of your passion for the game and your resolve to keep up with technological advancements.
Enhancing your gaming setup may revitalize your gaming sessions and be a really fulfilling experience. You can confidently evaluate your demands, choose the appropriate parts, and complete the upgrading procedure quickly by following this step-by-step approach. Keeping up with hardware advancements guarantees that you may completely immerse yourself in the world of gaming, without worrying about system restrictions, whether you’re a casual or die-hard fanatic. So go ahead and start your upgrading adventure now to play the newest games and have the finest possible gaming experience from your setup.